What Essential Accessories Do Professional Audio Speakers Need for Peak Performance?
- Share
- Issue Time
- Jul 21,2026
Summary
Achieving exceptional sound quality with professional audio speakers goes beyond the speakers themselves, requiring a detailed focus on essential accessories and setup practices. The article highlights that acoustic treatment is the fundamental first step, addressing room-specific issues like unwanted reflections, echoes, and standing waves. It details the use of absorption panels at first reflection points, bass traps for low-frequency control, and diffusers to maintain a balanced, natural ambi
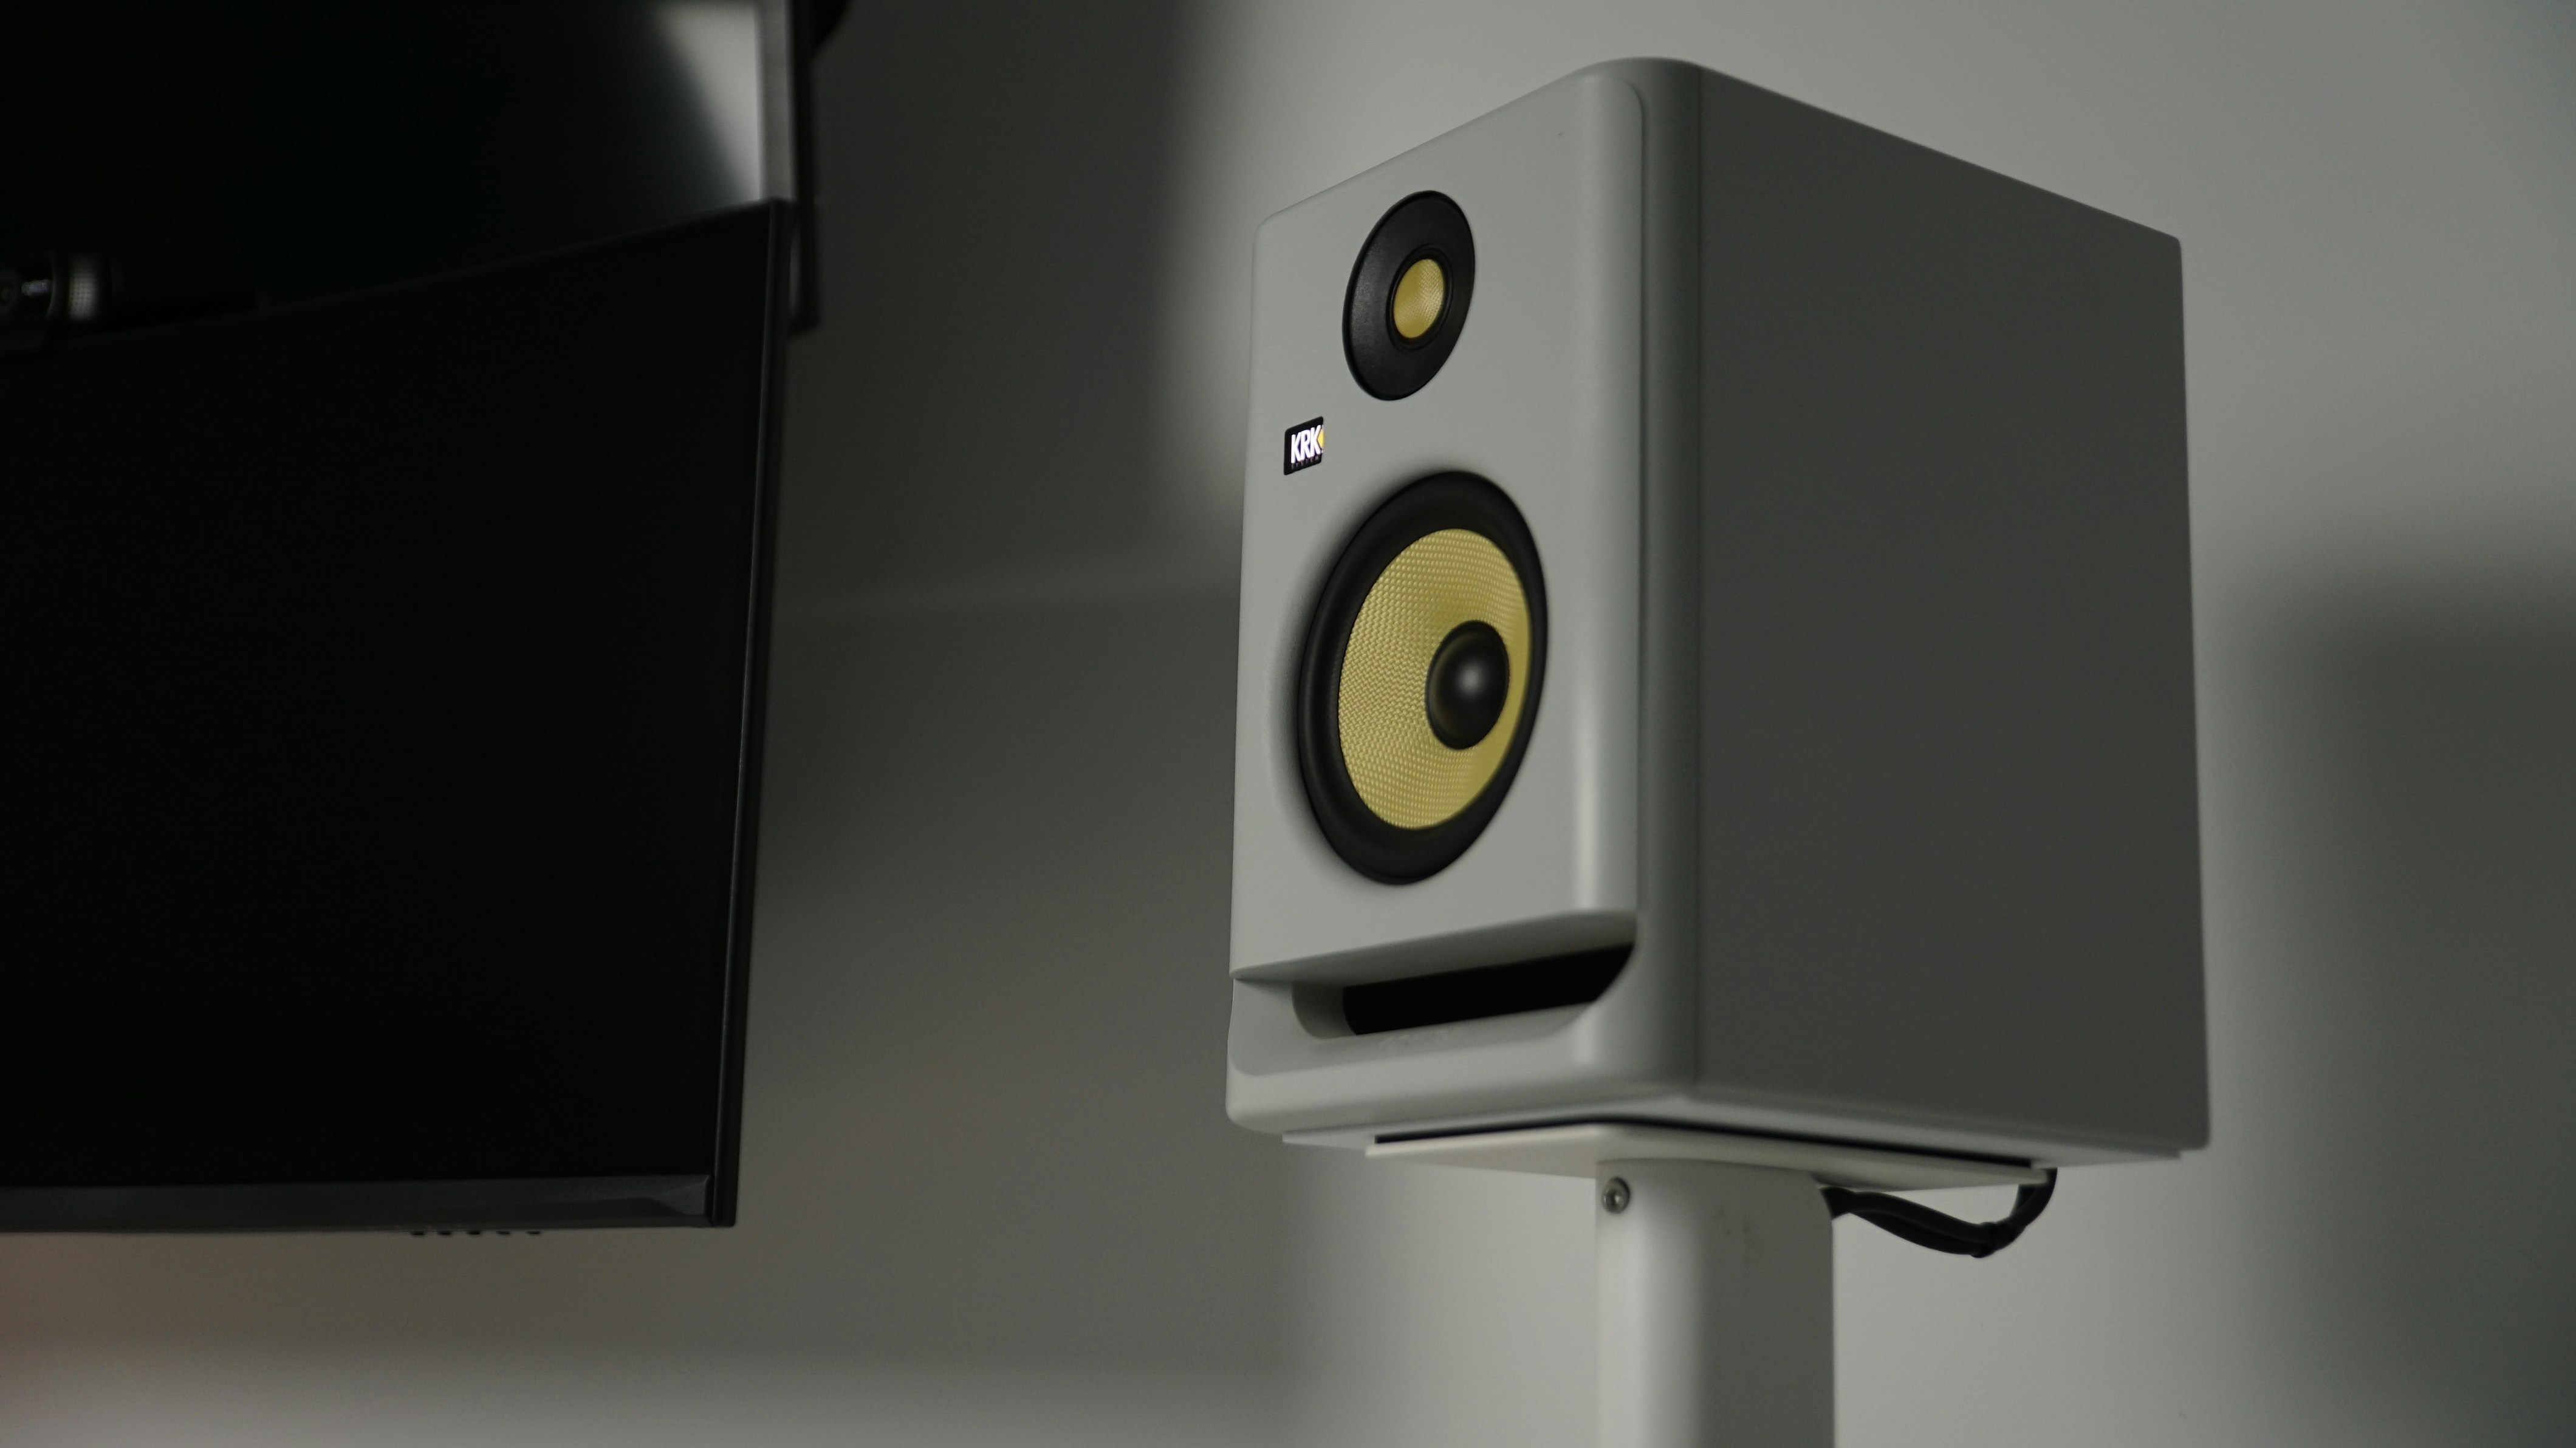
Setting up a professional audio studio can be an exciting journey, and for me, achieving exceptional sound quality has always been the ultimate goal. My professional audio speakers are the heart of my listening environment, but I've discovered they can't reach their full potential without the right supporting cast of accessories. I'm here to share what I've learned about the essential accessories every professional audio speaker setup needs to deliver peak performance and truly accurate sound.
Optimizing Your Professional Audio Speakers: The Essential World of Acoustic Treatment
Before you can even think about the speakers themselves, you must consider the room they're in. An untreated room is the biggest enemy of accurate sound reproduction. It introduces distortions, masks details, and ultimately misleads your ears. I learned early on that investing in acoustic treatment is not a luxury; it's the fundamental first step toward achieving a professional listening environment. It transforms a chaotic sonic space into a controlled, reliable canvas for your audio work.
Understanding Room Acoustics: Why It Matters for My Sound
Your room is an instrument in itself, and if left untuned, it will play along with your speakers, coloring the sound in undesirable ways. Every surface—walls, floor, ceiling, windows—reflects sound waves. In a small, untreated room, these reflections bounce around chaotically, smearing the original signal from your speakers and causing a host of problems that even the most expensive monitors can't overcome.
Dealing with Unwanted Reflections and Echoes
Direct sound is the sound that travels straight from your speakers to your ears. Everything else is reflected sound. Early reflections, which are the first sound waves to bounce off surfaces and reach you, are particularly problematic. They arrive at your ears so quickly after the direct sound that your brain can't distinguish between them. This merging of direct and reflected sound smears the stereo image, making it difficult to pinpoint where instruments are in the mix, and can even create misleading sonic artifacts that aren't actually in your recording.
In professional studios, this is often handled by angling walls to deflect reflections away from the main listening position, creating what is known as a Reflection-Free Zone (RFZ). For most of us working in standard rectangular rooms, the practical solution is to place absorptive acoustic panels at these first reflection points. A common method for finding these points is the "mirror trick": while sitting in your listening position, have a friend slide a mirror along the side walls and ceiling. Anywhere you can see the reflection of a speaker is a first reflection point that needs treatment.
Taming Pesky Standing Waves and Resonance for Clearer Audio
If you've ever walked around a room while a bass-heavy song is playing and noticed that the bass sounds much louder in certain spots and almost disappears in others, you've experienced standing waves. These occur when a sound wave reflects back and forth between two parallel surfaces, like opposite walls or the floor and ceiling. When the reflected wave aligns with the original wave, certain frequencies are amplified (creating a "peak" or "hot spot") while others are canceled out (creating a "null" or "dead spot").
This phenomenon, also known as a room mode, is directly related to the dimensions of your room and is most noticeable in the low-frequency range. It results in an uneven, "boomy" or "muddy" bass response that makes it impossible to mix low-end frequencies accurately. Standing waves are always detrimental to a room's acoustics, and the primary way to combat them is with dedicated acoustic treatment designed to absorb low-frequency energy.
Types of Acoustic Treatment I Use to Enhance My Professional Audio Speakers
Once I understood the problems, I could seek out the solutions. Acoustic treatment isn't a one-size-fits-all product. Different types of treatment are designed to tackle specific frequency ranges and acoustic issues. A balanced approach using a combination of absorbers, bass traps, and diffusers is the key to creating a truly accurate listening environment.
Absorption Panels: My Go-To for Clarity at Initial Reflection Points
Absorption panels are the workhorses of acoustic treatment. Typically made of materials like dense fiberglass, mineral wool, or foam, their job is to absorb sound energy and convert it into a tiny amount of heat, preventing that sound from reflecting back into the room. This process reduces echo and reverberation, dramatically improving speech intelligibility and overall clarity.
I focus on placing these panels at the crucial first reflection points on my side walls and ceiling. Incorrectly placed panels, such as those mounted too high or low, will be less effective as they fail to intercept the sound waves that most interfere with the direct sound from my speakers. For small rooms, it's a good idea to also place absorption panels on the wall behind the listening position to tame any harsh, quick echoes. By absorbing these early reflections, the stereo imaging from my professional audio speakers becomes sharper, and the sound is much more defined.
Bass Traps: Conquering the Low-End Rumble for Tighter Bass
While standard absorption panels are great for mid and high frequencies, they are generally not thick or dense enough to effectively control low-frequency energy. This is where bass traps come in. These are specialized, thicker acoustic absorbers designed specifically to handle the long wavelengths of bass frequencies that cause standing waves and "boomy" sound. Low-frequency buildup is a common problem in untreated rooms, especially in the corners where walls meet.
I consider bass traps absolutely essential for any serious studio. Without them, the low-end response can vary by as much as 20 dB from one spot to another in a small room, making accurate mixing impossible. By installing thick, porous bass traps in the vertical corners of my room—where bass energy concentration is highest—I can dampen these problematic standing waves and achieve a much smoother, more consistent low-end response. This allows me to hear the bass in my mixes accurately, ensuring they translate well to other playback systems.
Diffusers: Creating a Balanced and Spacious Listening Environment
Absorption is fantastic, but you can have too much of a good thing. A room treated only with absorption can sound unnaturally "dead" and lifeless. The goal is control, not elimination of all reflections. This is where diffusers play a critical role. Instead of absorbing sound energy, diffusers scatter it in multiple directions. This breaks up powerful, direct reflections into smaller, less noticeable ones, which helps to eliminate issues like flutter echo while retaining a sense of natural space and "air" in the room.
I use diffusers on the rear wall behind my listening position. This placement helps to create a more spacious and immersive soundstage without causing the problematic early reflections that absorption panels are designed to eliminate. Some hybrid panels even combine absorption and diffusion, offering a two-in-one solution. The combination of absorption to control early reflections and bass, along with diffusion to maintain a natural ambiance, is the key to creating a balanced and professional-sounding listening space.
DIY vs. Professional Solutions: What I've Found Effective for My Studio
Getting into acoustic treatment can seem daunting and expensive, but it doesn't have to be. There's a spectrum of options, from building your own panels to investing in high-end, professionally engineered systems. I've explored both paths and found that the right choice depends on your budget, your DIY skills, and the level of precision you require.
Budget-Friendly DIY Acoustic Treatment Options
If you're on a tight budget or enjoy a hands-on project, DIY acoustic treatment is a very effective route. You can build your own high-performance absorption panels for a fraction of the cost of commercial ones. The basic components are:
- A wooden frame: Typically made from 1x4 or 1x6 lumber.
- Absorptive material: The core of the panel. Rockwool (mineral wool) or rigid fiberglass (like Owens Corning 703) are the industry standards and far outperform foam.
- Fabric covering: An acoustically transparent fabric (burlap or muslin work well) is stretched over the frame to encase the absorptive material and provide a finished look.
For bass traps, the principle is the same, but the panels are made much thicker—often 6 inches or more—and are stacked floor-to-ceiling in the corners of the room. While makeshift solutions like blankets and egg cartons can slightly reduce high-frequency flutter, they do very little to control problematic mid-range reflections or low-frequency standing waves. Building your own panels with proper materials is a far more effective use of your time and money.
When to Invest in Brands Like GIK Acoustics or Auralex
While DIY is great, there are several reasons to invest in professional solutions from established brands like GIK Acoustics or Auralex.
- Guaranteed Performance: Professional companies provide tested data (absorption coefficients) for their products, so you know exactly how they will perform at different frequencies. This removes the guesswork.
- Time and Convenience: If you lack the time, tools, or space for a DIY project, buying pre-made panels is a simple and fast solution. They arrive ready to hang.
- Aesthetics and Build Quality: Commercial panels offer a polished, professional look with a wide variety of fabric choices that can complement your studio's decor. Brands like GIK Acoustics are well-regarded for offering high-performance, broad-spectrum absorption panels that are more effective than many foam-based alternatives.
- Expert Advice: Companies like GIK Acoustics often offer free acoustic advice, helping you choose the right products and develop a placement strategy tailored to your specific room and needs.
In my experience, I started with DIY panels to get a handle on my room's major issues. As my studio and needs grew, I invested in professional panels from GIK Acoustics for their certified performance and superior aesthetics, particularly for bass traps and hybrid absorber/diffuser panels. For most home studios, a combination of DIY and professional treatment can be a very powerful and cost-effective strategy.
Connecting and Powering Your Professional Audio Speakers: More Than Just Wires
Once your room's acoustics are under control, the next layer of optimization involves the physical connections and support systems for your speakers. It's tempting to overlook these accessories, but high-quality cables, stable stands, and clean power are not just add-ons; they are crucial components that ensure the integrity of your audio signal from the source to the speaker. Cutting corners here can introduce noise, degrade the sound, and prevent your speakers from performing at their best.
The Unsung Heroes: High-Quality Cables for My Professional Audio Speakers
Cables are the veins of your studio, carrying the lifeblood of your audio signals. The quality of these connections can have a surprising impact on the final sound. While you don't need to spend a fortune on esoteric, "audiophile" cables, there is a clear difference between well-made professional cables and cheap, poorly shielded alternatives.
Why I Choose Durable Cables Over Cheap Alternatives for Signal Integrity
A high-quality audio cable has two primary jobs: pass the audio signal with complete purity and reject external interference. Cheaper cables often fail on both counts. They might use lower-grade copper, poor soldering at the connection points, and inadequate shielding. This can lead to signal degradation, where subtle details in the music are lost, and a higher susceptibility to noise from electromagnetic interference (EMI) and radio frequency interference (RFI) emitted by nearby power cords, computer monitors, and Wi-Fi routers.
I opt for cables with robust construction, including high-purity oxygen-free copper (OFC) for better conductivity, good-quality connectors that ensure a secure fit, and effective shielding. Investing in well-made cables isn't about chasing marginal, "mythical" gains; it’s about preserving the integrity of the signal your equipment is producing and ensuring reliability over the long term. Durable cables with strong connectors are also less likely to fail during a critical session.
Essential Cable Types: XLR, TRS, and USB for Various Connections
For connecting professional audio speakers, the most important type of cable is a balanced one. Balanced cables use three conductors to transmit the audio signal, a design that allows them to cancel out most induced noise. This makes them far superior to unbalanced cables (like standard RCA or TS instrument cables) for professional use, especially over longer runs.
- XLR Cables: These are the standard for professional microphone and line-level connections. They feature a robust locking connector that prevents accidental disconnection, and their balanced design provides excellent noise rejection. For studio monitors that have XLR inputs, this is often the preferred choice.
- TRS (Tip-Ring-Sleeve) Cables: These look like standard 1/4-inch guitar cables, but they have an extra "ring" on the connector, which allows them to carry a balanced signal. Electronically, a balanced TRS cable and an XLR cable perform the same function of delivering a noise-free signal. Many audio interfaces and speakers use TRS connections, making them just as viable as XLR. The choice between XLR and TRS often comes down to what connections are available on your gear.
- USB Cables: Many modern speakers and audio interfaces use USB for both audio transmission and power. For these devices, a high-quality USB cable with good shielding is important to prevent data errors and noise from the computer's power supply from interfering with the audio signal.
Keeping It Tidy: The Importance of Cable Management for a Clean Studio
A "rat's nest" of cables behind your desk isn't just ugly—it's detrimental to your workflow and can even impact audio quality. Good cable management is essential for a professional and efficient studio environment.
- Reduces Noise: When power cables and audio (signal) cables are intertwined, the electromagnetic field from the power cables can induce a hum or buzz in the audio signal. Separating these cables is a fundamental practice to maintain signal purity.
- Improves Safety and Durability: Loose cables on the floor are a tripping hazard that can damage equipment or cause injury. Organizing them with cable ties, sleeves, or raceways prevents tangles and reduces wear and tear from being stepped on or bent at sharp angles.
- Enhances Workflow: A tidy setup makes troubleshooting much faster. When a connection fails, you can easily trace the problematic cable instead of digging through a tangled mess. This systematic organization conveys professionalism and minimizes frustration.
I use a combination of Velcro cable ties (which are reusable), cable sleeves to bundle runs together, and labeling to identify what each cable connects to. This small investment in organization pays huge dividends in efficiency and peace of mind.
Stable Foundations: Speaker Stands and Isolation for Professional Audio Speakers
Where and how you place your speakers is arguably as important as the speakers themselves. Simply setting them on your desk is a common mistake that severely compromises their performance. Proper speaker stands and isolation accessories are designed to position your monitors correctly and prevent unwanted vibrations from coloring the sound.
Elevating My Sound: Proper Placement for Optimal Performance
The ideal listening setup for professional stereo monitoring is known as the "sweet spot." I achieve this by creating an equilateral triangle between my head and the two speakers. This means the distance between the two speakers should be the same as the distance from each speaker to my ears. This geometric arrangement ensures that I'm hearing a balanced stereo image where instruments and sounds can be accurately placed in the mix.
Another critical factor is height. For the most accurate frequency response, the tweeters (the drivers that produce high frequencies) of my speakers should be at the same height as my ears when I'm in my seated listening position. This is typically between 1.2 and 1.4 meters (47-55 inches) from the floor. Pointing the speakers directly at my head, or even slightly behind it, ensures that I'm "on-axis" and hearing the full frequency spectrum as the speaker was designed to deliver it.
Isolation Pads and Stands: Making a Clear Difference in Sound Quality
When a speaker sits directly on a desk or shelf, its cabinet vibrations are transferred directly into that surface. The surface then resonates, essentially becoming a part of the speaker itself and coloring the sound in unpredictable ways. This "coupling" often results in boomy, indistinct bass and a smeared, unfocused stereo image.
This is where isolation comes in. The goal is to "decouple" the speaker from the surface it's resting on.
- Isolation Pads: These are typically made of high-density acoustic foam or other damping materials. Placing them under your speakers absorbs the cabinet's vibrational energy, preventing it from transferring to your desk. Yes—speaker isolation pads do improve sound quality in most nearfield listening and studio monitor setups—but only when used correctly on resonant surfaces like desks, stands, or shelves. The result is a noticeably tighter and more defined bass response, as well as improved clarity and stereo imaging.
- Isolation Stands: Dedicated speaker stands take this a step further. Not only do they provide a stable, heavy platform that resists vibration, but they also get the speakers off the desk entirely, eliminating reflections from the desk's surface. High-quality stands from brands like IsoAcoustics use patented technology to effectively eliminate energy transfer into supporting surfaces, allowing the speakers to perform as if they are floating in space.
Adjustable Stands: Setting Up for My Personal Sweet Spot
Achieving the perfect equilateral triangle and ear-level tweeter height can be difficult without the right equipment. This is why I use high-quality adjustable speaker stands. They offer the flexibility to fine-tune the height, tilt, and angle of my speakers with precision. This allows me to perfectly align the speakers for my specific chair height and desk setup, ensuring I'm always in the optimal listening position. Some powered or motorized stands even allow for adjustments at the touch of a button, which is ideal for quickly adapting the listening environment for different tasks or when collaborating with others. The convenience and precision offered by adjustable stands are a huge benefit for anyone serious about accurate monitoring.
Powering Up: Ensuring Clean and Consistent Energy for My Professional Audio Speakers
The final piece of the connection puzzle is the power that feeds your entire system. The quality of the electrical power delivered to your speakers, mixer, and audio interface can significantly impact their performance. "Dirty" power, which contains electrical noise and voltage fluctuations, can manifest as audible hums, buzzes, and a general loss of dynamic range and clarity in your audio.
Dedicated Power Sources to Prevent Interference
One of the best ways to ensure clean power is to use a dedicated electrical circuit for all your audio equipment. In most homes, multiple outlets share a single circuit, meaning your sensitive audio gear might be sharing power with noisy appliances like refrigerators, air conditioners, or computers. This can introduce significant EMI and RFI into your audio signal path. A dedicated circuit, installed by an electrician, provides a direct line from your electrical panel to your studio outlets, isolating them from other household appliances. This can dramatically lower the noise floor of your system, resulting in cleaner recordings and more detailed playback.
For a less invasive but still highly effective solution, I use a high-quality power conditioner. A good power conditioner does several things:
- Filters Noise: It removes EMI and RFI from the AC power line.
- Provides Surge Protection: It protects your expensive equipment from damage caused by voltage spikes, such as those from lightning strikes.
- Regulates Voltage: Some advanced models also provide voltage regulation, ensuring your gear receives a stable and consistent voltage, which can prevent long-term wear and damage.
While a simple power strip offers multiple outlets and basic surge protection, it does not filter or "clean" the power in any meaningful way. Investing in a real power conditioner is a crucial step for protecting your equipment and optimizing its performance.
Mixer and Amplifier Considerations for Peak Performance
In any audio setup, the components work together as a chain. The quality and settings of the devices before your speakers will directly impact the sound that comes out of them. A high-quality mixer or audio interface with clean preamps is essential for providing a strong, noise-free signal to your speakers. Even the best speakers can't fix a noisy or distorted signal that they're fed.
- For Passive Speakers: If you are using passive speakers (which don't have built-in amplifiers), matching them with the right amplifier is critical. The amplifier's power output (in watts) should be appropriately matched to the speaker's power handling capabilities. A common rule of thumb is to choose an amplifier with an RMS power output per channel that is between 75% and 150% of the speaker's RMS power rating. The amplifier's output impedance should also match the speaker's nominal impedance (usually 4, 6, or 8 ohms). An underpowered amplifier driven too hard can produce a clipped signal, which can damage tweeters, while an overpowered amp can physically damage the speaker drivers.
- For Active Speakers: For active speakers (like most studio monitors), the amplifiers are already built-in and perfectly matched to the drivers by the manufacturer. In this case, the main consideration is "gain staging." This means ensuring that the signal level coming from your mixer or audio interface is optimal—not so low that you have to turn up the speaker's gain and introduce noise, and not so high that it clips the input of the speaker's amplifier and causes distortion. The mixer's job is to balance all sources and deliver a clean, strong line-level signal, while the speaker's job is to accurately reproduce it.
Ultimately, every component in your signal chain, from the power source to the final driver, plays a role in the final sound quality.
Fine-Tuning Your Professional Audio Speakers: My Insights for Achieving Peak Performance
With the room treated and the connections optimized, the final stage is about the speakers themselves and how you use them. This involves choosing the right monitors for your needs and developing disciplined habits for setup and listening. My own journey has taught me that the "best" speaker is the one that tells you the most accurate truth about your audio, and using it correctly is a skill that takes time to develop.
Choosing the Right Monitors: My Journey from ADAM Audio A7Xs to Neumann KH 310s
My first serious studio monitors were the ADAM Audio A7Xs. They are fantastic speakers, renowned for their clear and detailed high-frequency reproduction thanks to their signature X-ART ribbon tweeter. They served me incredibly well, helping me to learn the ropes of critical listening and mixing. However, as my work became more demanding and my ear more trained, I started to notice limitations in the low-mid frequency range and wanted a more revealing tool. This led me to upgrade to the Neumann KH 310s, and the difference was a revelation.
Flat Frequency Response: What I Listen For in Accurate Monitoring
The goal of a professional studio monitor is to provide a flat frequency response. This means the speaker reproduces all audible frequencies, from deep bass to sparkling highs, at the same volume level without adding its own "color" or character to the sound. Consumer-grade hi-fi speakers are often designed to make music sound more exciting by boosting bass and treble, but this is the exact opposite of what you need for mixing.
A neutral, flat-sounding speaker acts as an honest translator. It reveals the audio exactly as it is, warts and all. If a mix has too much bass, a flat speaker will tell you. If there are harsh frequencies in the vocals, you'll hear them clearly. Mixing on flattering, "colored" speakers is like painting a picture while wearing sunglasses; you might compensate for the tint, but when you take the glasses off (i.e., play the mix on a different system), the colors will be all wrong. The ultimate goal is to create mixes that translate well to any system, and that starts with an accurate, neutral reference point.
The Advantage of 3-Way Active Speakers for Enhanced Accuracy
The biggest difference between the A7X and the KH 310 is that the former is a 2-way speaker and the latter is a 3-way speaker.
- 2-Way Speakers: Split the frequency spectrum into two parts. A larger driver (woofer) handles the low and mid frequencies, while a smaller driver (tweeter) handles the high frequencies.
- 3-Way Speakers: Split the spectrum into three parts. They have a dedicated woofer for low frequencies, a dedicated midrange driver for the critical mid frequencies, and a tweeter for the highs.
The advantage of a 3-way design is significant. By giving the midrange its own dedicated driver, neither the woofer nor the tweeter is forced to reproduce frequencies outside of its optimal range. This leads to lower distortion, especially at higher volumes, and a much clearer and more detailed representation of the midrange, which is where most of the fundamental elements of a mix, like vocals and guitars, live. For me, the dedicated midrange driver of the KH 310s provides superior clarity and separation, allowing me to make more precise EQ and balance decisions with confidence. While a high-quality 2-way speaker can be excellent, a well-designed 3-way system offers a higher level of accuracy and performance.
Setting Up My Professional Audio Speakers: Key Considerations for Optimal Sound
Owning great speakers is only half the battle. Setting them up and using them with a disciplined approach is what truly unlocks their potential. This involves critically evaluating your listening environment, being meticulous about placement, and understanding how listening volume affects your perception.
Ensuring Sound Quality and Neutrality in My Listening Environment
As I've stressed, a neutral listening environment is non-negotiable for professional audio work. You cannot trust your speakers if you cannot trust your room. This means that even with the best speakers, all the principles of acoustic treatment and proper placement I've discussed must be diligently applied. A speaker's performance is inextricably linked to its environment. Poor acoustics, with their rampant reflections and standing waves, will completely mask the true performance of a high-end monitor, making the investment worthless. Every speaker will interact with the room, and the goal is to minimize the room's negative influence so that what you hear is as close to the direct output of the speaker as possible.
My Approach to Effective Room Acoustics and Precise Speaker Placement
My setup process is methodical. After treating the first reflection points and corners, I use a measuring tape to ensure my speakers and listening chair form a perfect equilateral triangle. I use adjustable stands to position the tweeters precisely at ear level. Then, I listen to a variety of well-mixed reference tracks that I know intimately. This helps me to "learn the sound" of my speakers in my room and identify any remaining acoustical issues.
I also experiment with the distance of the speakers from the wall behind them. Placing speakers too close to a wall can cause a buildup of low frequencies, a phenomenon known as the "boundary effect." Many professional monitors, including my Neumanns, have EQ switches on the back to compensate for this, allowing you to attenuate the bass if they must be placed near a wall. Getting this balance right is a crucial final step in fine-tuning the system.
Finding the Right Volume for Accurate Monitoring and Avoiding Ear Fatigue
How loudly you listen has a profound effect on what you hear. This is explained by the Fletcher-Munson curves, which demonstrate that our ears perceive frequencies differently at different volumes. At very low volumes, our sensitivity to low and high frequencies is greatly reduced, making the midrange seem more prominent. Conversely, at very loud volumes, the bass and treble can sound hyped and overly powerful.
This is why mixing at a consistent, calibrated volume is critical. Most audio professionals recommend mixing at a Sound Pressure Level (SPL) between 80 and 85 dB for larger rooms, or closer to 75 dB in smaller home studios. This range is the "sweet spot" where our hearing is most linear, or "flat," meaning we perceive the frequency spectrum most accurately.
I use an SPL meter app on my phone to calibrate my monitoring level to around 78-80 dB at my listening position. I do the majority of my mixing work at this volume. However, it is also crucial to periodically check the mix at very low and very high volumes to ensure it translates well. Listening quietly can help you check if the most important elements (like vocals) still stand out, while listening loudly for brief periods can reveal harshness or dynamic issues. Most importantly, mixing at a reasonable volume and taking regular breaks helps prevent ear fatigue, which can impair judgment and lead to poor mixing decisions.
FAQs
1. Do I really need acoustic treatment for my home studio?
Absolutely. An untreated room introduces reflections, echoes, and standing waves that distort the sound from your speakers, no matter how expensive they are. This makes it impossible to make accurate mixing decisions. Treating your room is the single most important investment you can make for improving your audio quality, even more so than upgrading your speakers initially.
2. Is there a big difference between cheap and expensive speaker cables?
While you don't need to spend thousands on "audiophile" cables, there is a significant difference in reliability and noise rejection between cheap, flimsy cables and well-made professional ones. High-quality balanced cables (XLR or TRS) with good shielding are essential for protecting your audio signal from electrical interference (hum and buzz) and ensuring a durable, long-lasting connection.
3. Why can't I just put my speakers on my desk?
Placing speakers directly on a desk causes two main problems. First, it creates strong reflections from the desk surface that interfere with the direct sound, smearing the stereo image. Second, it mechanically couples the speaker to the desk, causing the desk to vibrate and resonate, which colors the sound and makes the bass boomy and unclear. Using speaker stands or at least high-density foam isolation pads is crucial to decouple the speakers and position them at the correct height.
4. What is the "sweet spot" and how do I find it?
The "sweet spot" is the optimal listening position where you hear the most accurate stereo image. You create it by forming an equilateral triangle with your speakers and your head. The distance between your two speakers should be equal to the distance from each speaker to your ears. Additionally, the tweeters of the speakers should be aimed directly at your ears and be at the same height as your ears when you are seated.
5. How loud should I be mixing my music?
Due to the way human hearing works (as shown by the Fletcher-Munson curves), there is an optimal volume range for mixing. For most home studios, this is around 75-80 dB SPL (Sound Pressure Level). At this level, your perception of frequencies is the most balanced. Mixing too quietly will cause you to underestimate the bass and highs, while mixing too loudly will make them seem over-hyped and lead to ear fatigue. It's best to mix at a consistent, calibrated level and check your mix at different volumes periodically.
Conclusion
By focusing on critical aspects like quality acoustic treatment, reliable cables, and proper speaker stands, I've seen a dramatic improvement in the accuracy and overall sound of my studio. These accessories are not glamorous, but they are the bedrock upon which peak audio performance is built. They work together to create a controlled, accurate, and reliable environment where my professional audio speakers can finally do their job properly—telling me the unvarnished truth about my audio.
Investing in these essential accessories for your professional audio speakers isn't just about spending money; it's about investing in the precision and quality of your work and your listening experience. Each component, from the foam on the walls to the wire on the floor, is a step toward removing uncertainty and getting closer to the sound you envision.
I hope my experiences and insights help you elevate your own studio environment and get the absolute most out of your professional audio speakers. The journey to great sound is a continuous one, but with a solid foundation, you'll be well-equipped to produce work that translates beautifully from your studio to the outside world. Feel free to share this article with fellow audio enthusiasts, and let me know in the comments what accessories have made the biggest difference in your setup