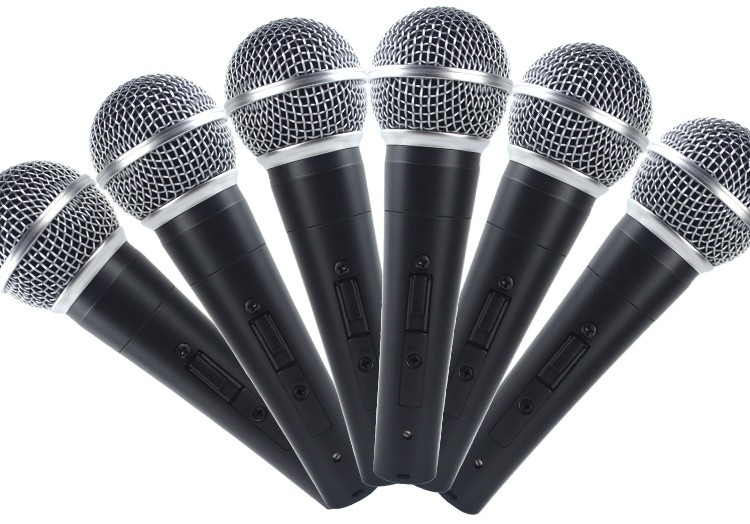
Main points and methods for maintaining wired microphones
- Share
- Issue Time
- May 20,2020
Main points and methods for maintaining wired microphones
Like other equipment in the sound system, the microphone also needs regular cleaning and maintenance, and it is best to include the microphone in your PM plan (preventive maintenance plan).
Many people think that a microphone is a device that works well without maintenance. Because most people rarely encounter any trouble when using a microphone in a show. But if you want the microphone to maintain the best working condition, you still need to pay attention to it frequently.
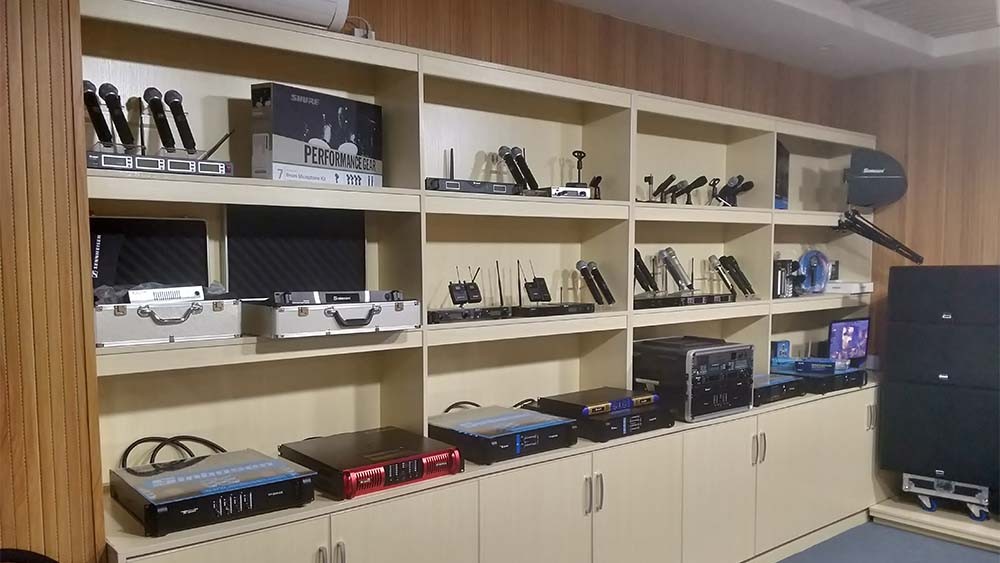
In my company, we clean and inspect the company's microphone samples at least twice a year.
Cleaning the microphone is not just from a hygienic point of view. When cleaning the microphone, we must also remove the dust and dirt that may affect the microphone response.
Important points when cleaning the microphone.
First check all microphones one by one to see if there is any obvious damage, then shake the microphone to confirm if there are any loose parts on the microphone.
The second is to check and maintain the microphone connector and pins. You can use the "oil-free compression spray gun" or "dust-removing compressed gas tank" to blow away the dust and small gravel in the microphone connector.
Next, plug each microphone into the PA separately to see if they work properly.
In our experience, the most common problems encountered when cleaning microphones are: dirty microphone components and recessed microphone grilles.
Removal of dirt is not a difficult task-you just need to put all the dirty components together and let them clean them thoroughly. Pick out components that are sunken or obviously broken.
When cleaning the microphone grille, we use mouthwash and brush with a toothbrush. Alternatively, you can also use a 1: 1 mixed solution of distilled water and isopropyl alcohol as a cleaning agent. If you encounter dirt that clogs the grille, you can use a compressed air spray gun to blow off the dirt, and then put it on a towel to dry.
If there is a slight depression on the microphone grille, although it may not affect the performance of the microphone, it looks very unsightly. If the dents of the grille are too severe, it may cause interference to the airflow, and may also touch other components inside the microphone, resulting in increased noise of the microphone, and even damage to the microphone internal components and the diaphragm.
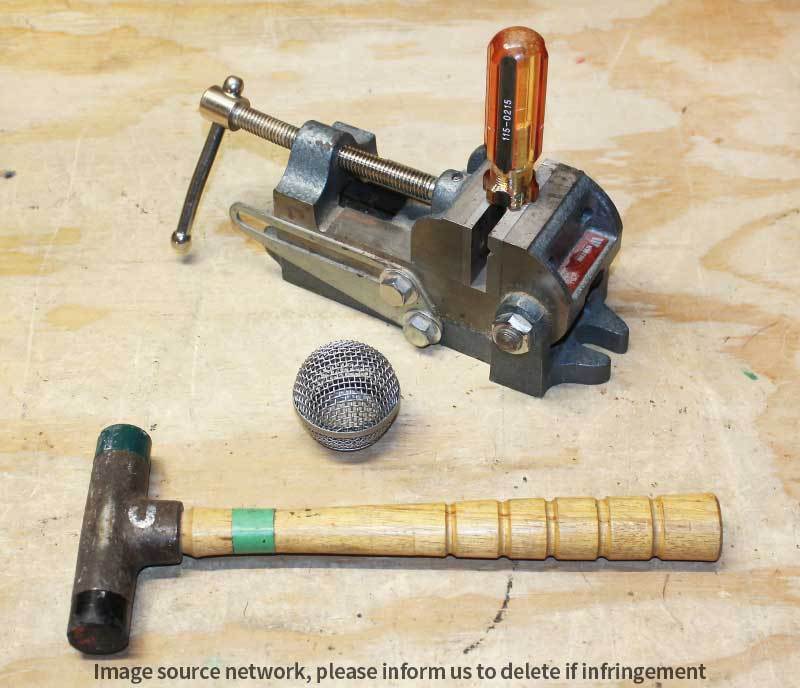
Use some common tools to repair the microphone grille.
Fortunately, most microphone grilles can be restored to their original shape. For those detachable microphone grills, we only need to use some common tools to make the microphone grill look new.
For a spherical microphone grille, find a round screwdriver or hexagon socket at the back of the handle, fix it on the vise, and use the round shape at the back of the handle as an anvil. First remove the inner sponge of the microphone, then align the depression with the handle, and use a mallet / plastic hammer to hammer the grille back into its original shape.
For a microphone grill with a flat top, we need to clamp a small wooden tenon to the vise, and then use the flat surface of the wooden tenon as the anvil. The effect will definitely be unexpectedly good.
Of course, if the depression of the microphone grille is too large to be repaired, or if it has been damaged, it can only be replaced with a new one. The new microphone grille can be purchased from the manufacturer.
The work is not really finished
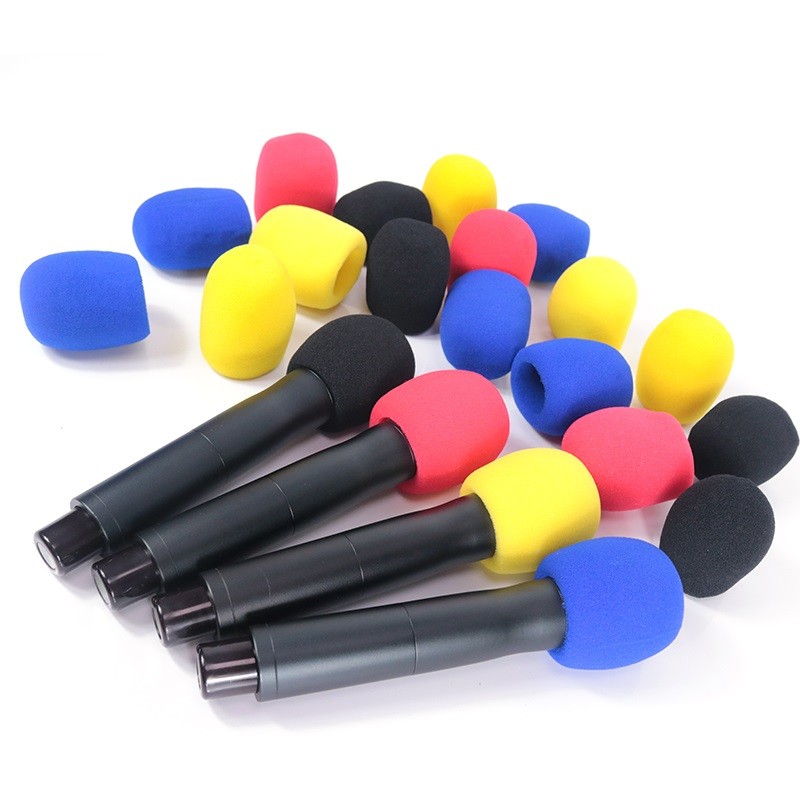
During performances, vocal microphones often suffer from adverse effects such as smoke, lipstick, lipstick, saliva, etc. Therefore, we need to equip the vocal microphone with an external sponge cover. If the microphone is accidentally dropped, the outer sponge cover can also protect and buffer to a certain extent. You can buy dozens of affordable sponge covers and throw them away. Before using the vocal microphone, wipe the microphone grille with medical alcohol cotton.
Don't forget to check the microphone connector and the microphone stand and clip.
Just in case, it is best to carry several sponge covers in the equipment box for your performance, and also prepare several alternative microphone grills for the vocal microphone. When cleaning the microphone grille, first remove the grille. After cleaning, allow the microphone grille to air dry before reassembly on the microphone.
Don't forget to check the microphone clip. Make sure that the plastic clip or rubber clip is not damaged, and adjust the tension screw, so that we can easily adjust the microphone clip while ensuring that the microphone clip is stable. Also check that the connection to the microphone stand is strong enough. If there is slack, it is likely to cause the microphone to fall from the stand. This situation is not only embarrassing, it may also hurt the performer and damage the microphone.
If we encounter this problem of slack in the joints, we will use glue that can bond metal and plastic / rubber together.