12 tips to immediately improve the quality of home microphone recording
- Share
- Issue Time
- Feb 25,2021
Summary
We have collected (more than) ten solving techniques. Whether you are using an entry-level or professional-grade microphone, these tips can help you immediately improve the microphone's reception and recording quality.
12 tips to immediately improve the quality of home microphone recording
All the prerequisites for improving quality, you need to have qualified microphones. Poor microphones often make you fail at the start, and even some cheap microphones have their own noise. Good microphone sound quality not only allows you to communicate more clearly, but also allows the listener to receive clearer messages and a better listening experience.
We have collected (more than) ten solving techniques. Whether you are using an entry-level or professional-grade microphone, these tips can help you immediately improve the microphone's reception and recording quality.
#1. Turn off other noisy equipment on site
If you have any noise-producing equipment in the room that has nothing to do with recording and radio, turn it off. For example, electric fans, air conditioners, air purifiers, etc., if you must use them, please make sure that these machines are far enough away from you and are not within the radio range (a directional microphone is recommended), so that they will not cause excessive interference to the recording quality. Your audience doesn't care if you are too hot or too cold. They care about being able to clearly receive the message you want to convey and have a good listening experience.
#2. Make good use of the microphone's directivity (PolarPattern)
Put all the equipment that can not get rid of, but will make noise, in the blind spot of the microphone.
Each microphone has its unique directivity, and has different radio effects for different angles of sound sources. In an environment where a single person faces a microphone and speaks and records, usually a cardioid pointing microphone is used to face the speaker. At this time, behind the microphone is a blind spot for radio (the worst radio effect).
If you have a very noisy live broadcast equipment (such as a computer fan), you can move the microphone so that the back of the microphone is the source of noise from the computer fan, which can greatly reduce the noise interference and make the recording effect better.
#3. Keep the microphone as close to your mouth as possible
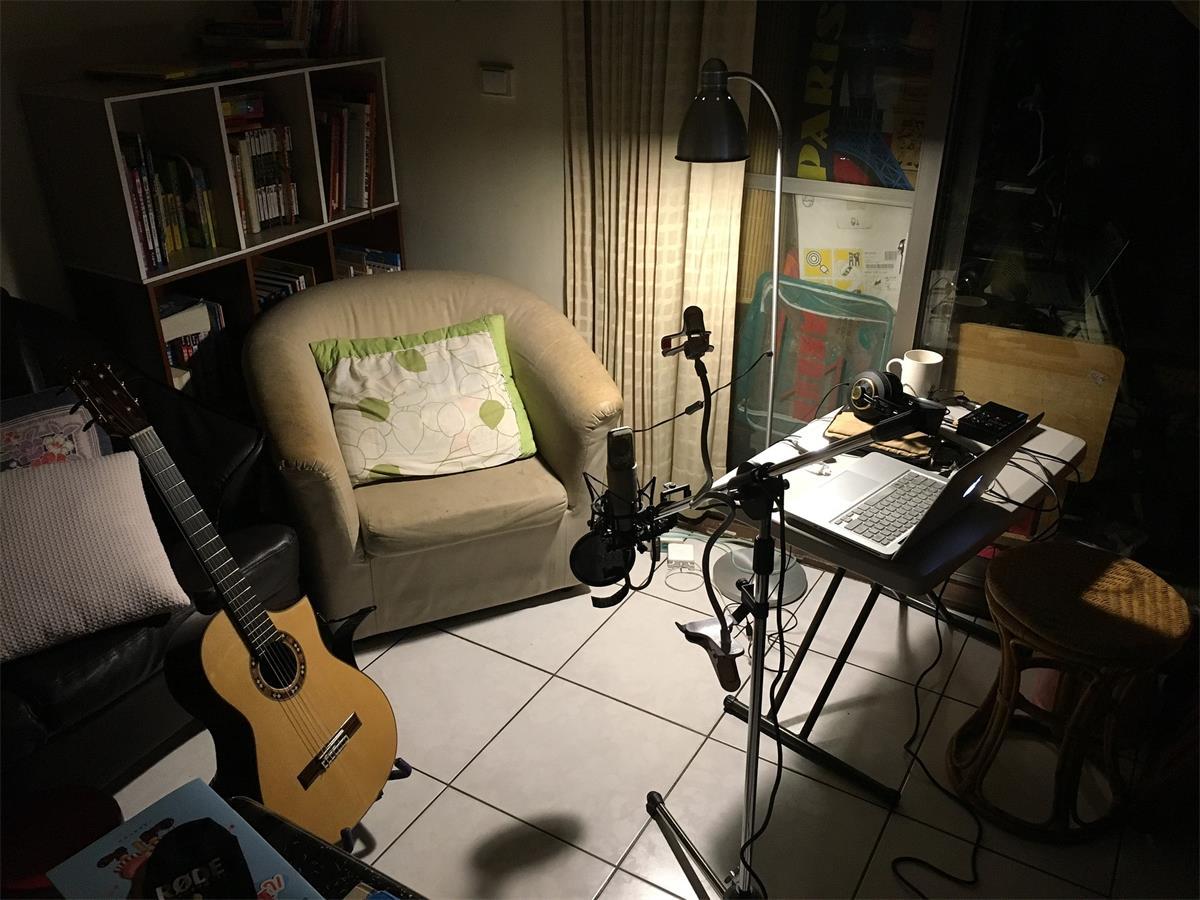
If you are recording in a room that has not been acoustically processed, try to get as close to the microphone as possible. This can greatly reduce the echo in the room.
The main source of echo is the sound of your speech, which bounces back through a smooth and hard surface and is picked up by the microphone. Echo may be very effective in some music-type recordings, but it is usually very disturbing in recording dialogue.
The main effect of the microphone close to the mouth is to improve the signal/noise ratio (Signal / NoiseRatio), that is, the direct sound from the mouth received by the microphone will be much larger than the echo received from the room.
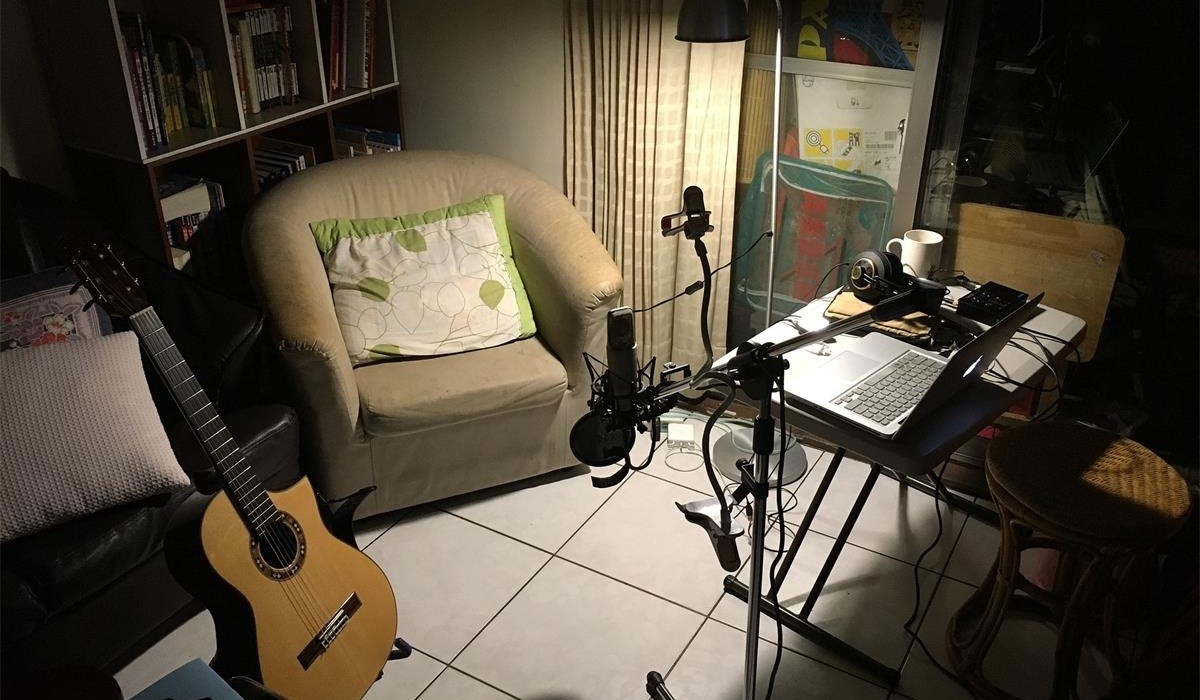
#4. Keep the microphone off the surface of the table
If you are playing the computer keyboard or pressing the mouse at the same time during live broadcast or video conference, put the microphone on a stand-alone microphone stand, and keep the microphone away from the source of these percussive noises.
Most entry-level recording microphones come with a desktop microphone tripod when they are purchased. Although it is very convenient to use, it is not so ideal for people who can type on the table or use a mouse. Using an elevated or independent microphone stand, and keeping the microphone away from the table will make these keyboard and mouse noises smaller and improve the listening quality of the audience.

#5. Free Blowout Prevention Techniques
If you don't have the budget to buy a pop filter, you can move the microphone from directly in front of you to a 45-degree angle, and aim the microphone at the corner of your mouth. This can greatly improve the spraying of wheat.
Spray microphone (spray microphone) is the pop sound when we speak. When these words are spoken, the air current will be ejected from the mouth instantly, causing the microphone to produce sharp noise.
#6. Recording in the closet
If the room where you are recording does not have any sound absorption or echo reduction devices, try to see the recording in the closet.
This suggestion is only suitable for use when it is not a video conference or recording a movie, because the wardrobe is not a good-looking picture. But the advantage of recording in the closet is that you can use the clothes and coats inside as sound-absorbing materials. These soft clothes will absorb most of the echo and improve the quality of your recording.
#7. Set the appropriate volume of the microphone
When recording, pay attention to the conversion gain of the microphone (Gain), which is generally called the sensitivity of the microphone (Sensitivity). In simple terms, the gain (Gain) setting of different degrees will affect the microphone's recording volume. The low volume is very hard for the listener.
Too small volume can be increased in the post-production period, but too large volume cannot be remedied afterwards. It is recommended to set the gain between -12dB and -6dB (but there is no correct value and need to be tested).
#8. Maintain the stability of the volume
By keeping the distance between you and the microphone, you can keep the stability of the sound volume received by the microphone as much as possible.
If you move too much back and forth, left and right when speaking, it will obviously cause the recording volume to increase and decrease. In addition, when speaking, you should also avoid loud fluctuations in the speaking volume, which will cause discomfort to the audience.
#9. Speak into the correct direction of the microphone
This seems to be a stupid question, but it is a mistake most people make.
For example, many people use a side microphone to speak to the top. This is completely wrong. For this kind of microphone, the sound recording effect of speaking from the side will be better than the sound effect of speaking at the top of the microphone.
Therefore, before using the microphone, you must read the microphone instructions in detail, and before you start recording, test the microphone in different positions and directions to ensure that you are speaking in the correct direction of the microphone to achieve the best recording quality.
#10. Do not eat chocolate or dairy products before recording
These foods can easily muddy your voice during live singing or recording.
#11.Avoid using mechanical keyboards
Many people like the feel of a mechanical keyboard when typing, but most mechanical keyboards still produce a louder key press. If you really need to type while recording, trim your nails, try to avoid using mechanical keyboards.
#12. Use a shockproof microphone stand
It can reduce the noise caused by accidentally touching the microphone (or microphone holder) vibration.