How to install wheels on the LA445 column speaker?
- Share
- Issue Time
- Jun 1,2026

Installation Steps:
1. Clean Mounting Holes:
Remove any dust, protective paint, or foreign objects from the pre-drilled holes.
2. Test Screw Fit:
Use screws of the corresponding size to verify that the threads engage smoothly.
3. Tighten Diagonally:
First, hand-tighten all screws; then, progressively tighten them in a diagonal pattern.
4. Check for Level:
After installation, the speaker should sit stably without wobbling.
5. Test Brakes:
Verify that the braking mechanism functions correctly and that the speaker remains stationary once locked.
Important Considerations:
Screw Length: Ensure that the screw insertion depth does not exceed the depth of the mounting hole; this prevents the screw from penetrating the cabinet and damaging internal components.
Do Not Overtighten: The threaded holes typically feature metal inserts; applying excessive force may strip the threads.
Regular Inspection: Check the screws for looseness and the wheels for wear and tear before and after each performance.

Why Are Mounting Holes for Wheels Provided?
Ease of Mobility: In settings such as performances, conferences, and events, speaker positions can be quickly adjusted to adapt to various venue layouts.
Reduced Labor Costs: Minimizes the need for manual handling personnel.
Frequent Adjustments: When repeated testing of sound field positioning is required, rolling the speakers into place is far more efficient than manually lifting and carrying them.
Rapid Deployment: Significantly reduces the setup and teardown time required before and after a performance.

Neodymium magnet driver active colum professional sound system speaker

8×4.5" ferrite midrange, 2×3" neodymium tweeter, 1×15" ferrite woofer.

Ultra-Quiet 2U Suitable for Home Theater Power Amplifiers 2ohms work stable
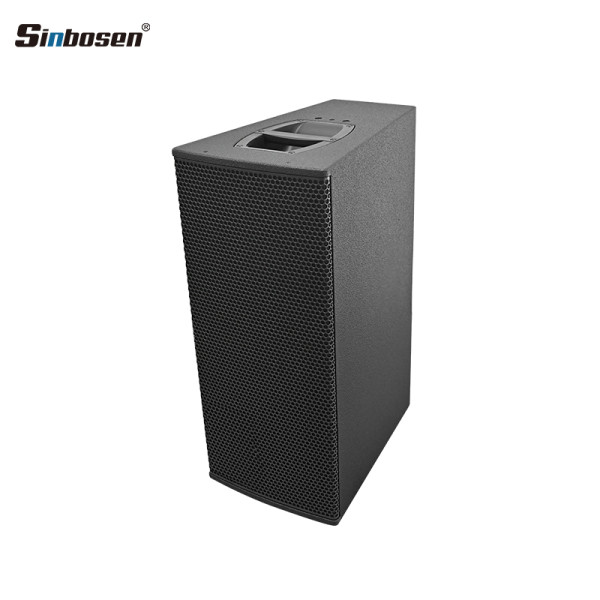
High performance 2-way passive point source loudspeaker